
If you can make a pancake, you can make a crepe. “Really thin pancakes” seems to be the most common way we like to describe them. If you have made crepes before, note that this recipe is a little different. This crepe recipe gets most of its structure from the eggs, allowing the crepes to be even more subtle and delicate than most.
Batter
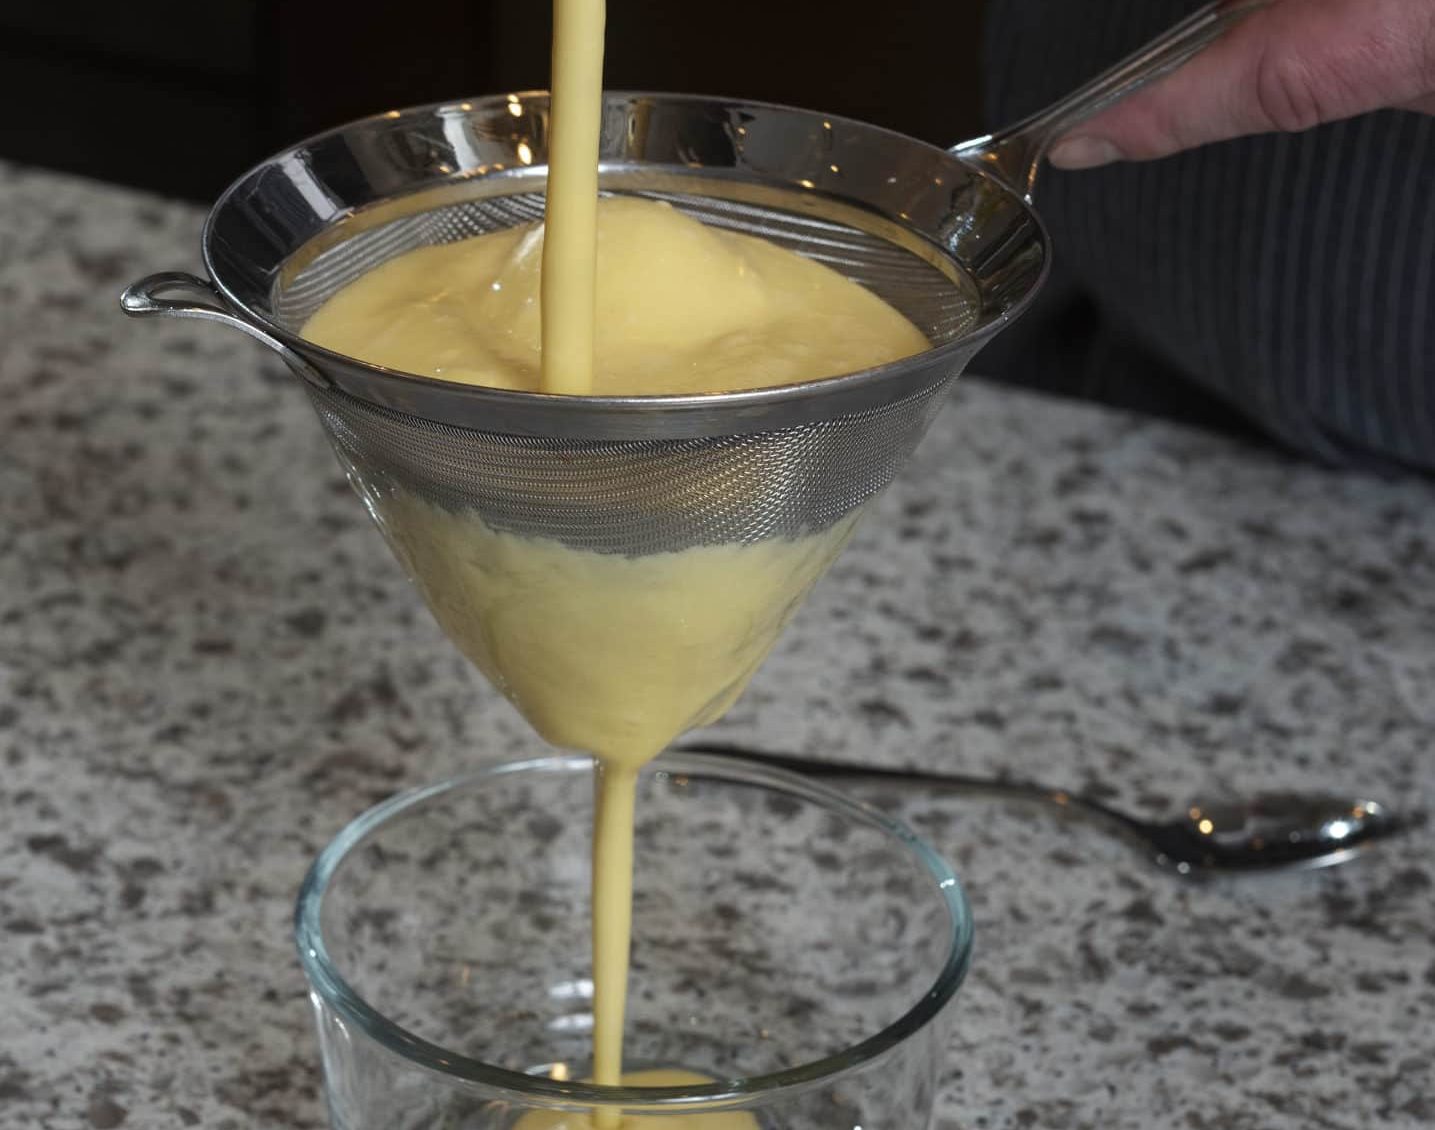
I mentioned pancakes earlier, but don’t use the pancake method when making crepe batter. Pancake batter needs to be just barely mixed. In pancakes, lumps are fine — this keeps the gluten from forming too much and keeps the pancakes light and fluffy. Crepe batter is the opposite. Crepe batter needs to be thoroughly mixed and free of lumps. It is also best to strain the batter, then rest for at least 1 hour, or up to a day before making the crepes.
Cooking
A crepe pan is nice, but not necessary. If you have a quality non-stick pan (about 8 to 11 inches) it should do the job perfectly. A well-seasoned carbon steel pan will also work; you just might need to make a few crepes and adjust the temperature to get it right. The other key ingredient is a heatproof spatula to help lift the edges.
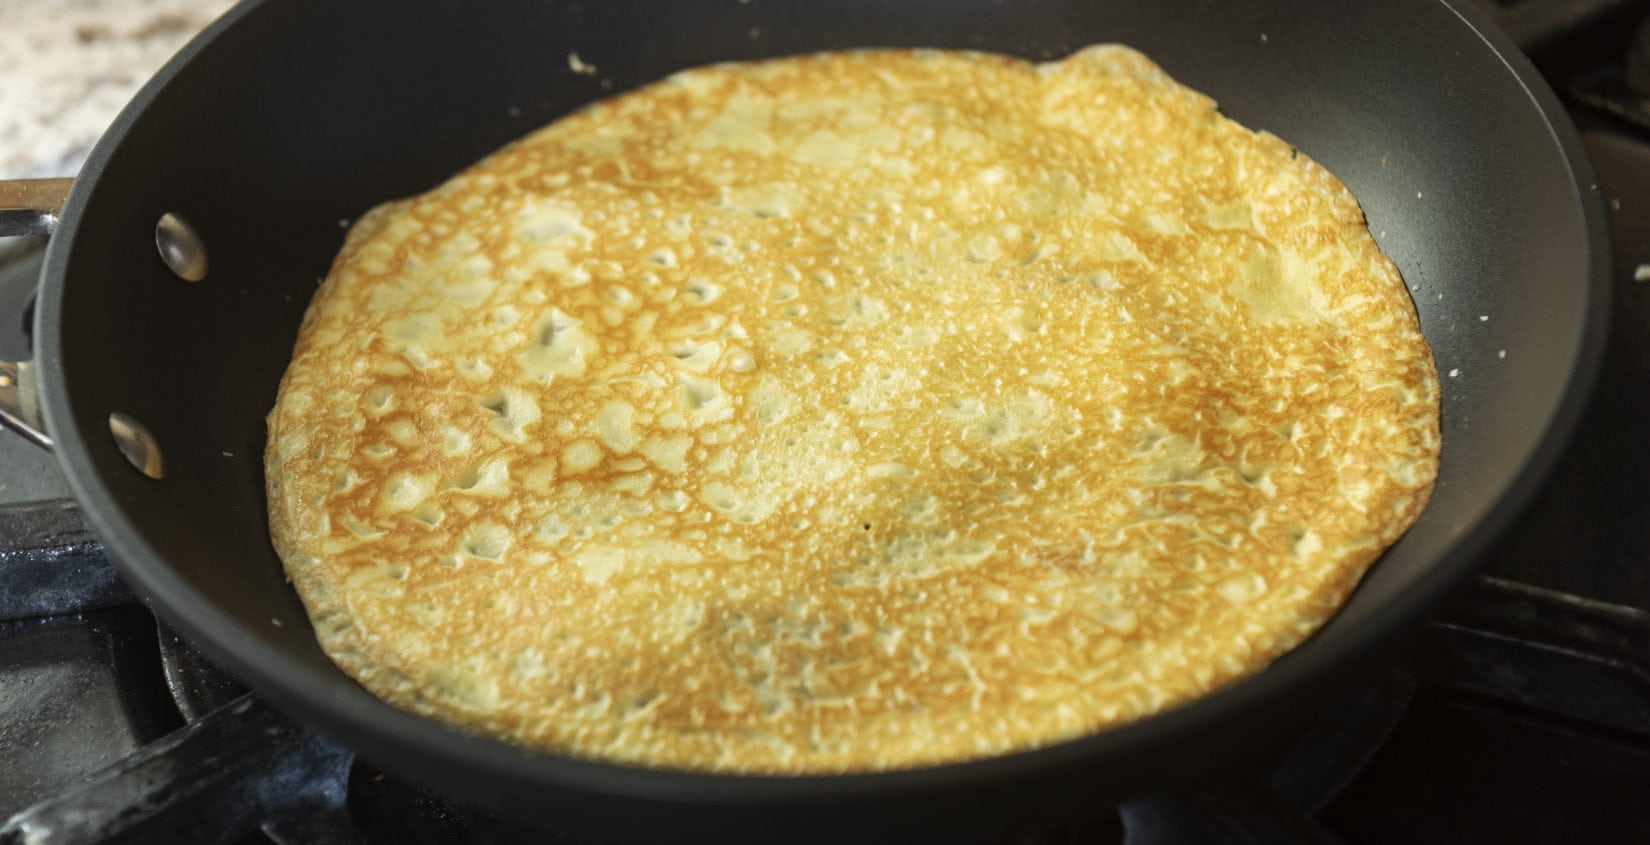
Heat the pan over medium heat for a minute or two, then add about a teaspoon of butter. Using the spatula, spread the butter all over the pan (you will only need to do this every four or five crepes). Pour between 1 to 2 ounces of batter, offset from the center of the pan. Less is better than too much until you get the feel of how much batter you need to make a crepe in your pan. As soon as the batter hits the pan, start to swirl the pan to help cover the its entire bottom making a circle. If necessary, you can add a small amount of batter to fill in any holes. Once the top of your crepe is dry (you can touch it) you can check the bottom by lifting the side slightly. If you are going to fill the crepe once it is cold, you want to see a little color start to form on the bottom of the crepe before flipping. If you are going to fill the crepe while it is hot, for instance with spinach and melted cheese, you don’t need to see any color before flipping. The color will form when you flip the crepe back and fill it. Just like cooking a piece of meat, the first side that hits the pan will be the presentation side. It will get a little better coloration because it will go into a hot pan. It will also be smoother since batter coats the bottom of the pan and may have some lines on the inside from swirling the batter.
Storing
Once the crepes are cooled, they can be stored in a plastic bag or tightly wrapped in the refrigerator for two or three days. You can freeze crepes for 1 to 2 months by placing wax paper or parchment between each crepe and then placing the stacked crepes in a plastic bag or wrapping tightly with plastic wrap. The crepes can easily be pulled out, filled with cold fillings and folded before serving cold. If you desire a hot filling, they can be heated and filled in a fraction of the time compared to making them.
Filling
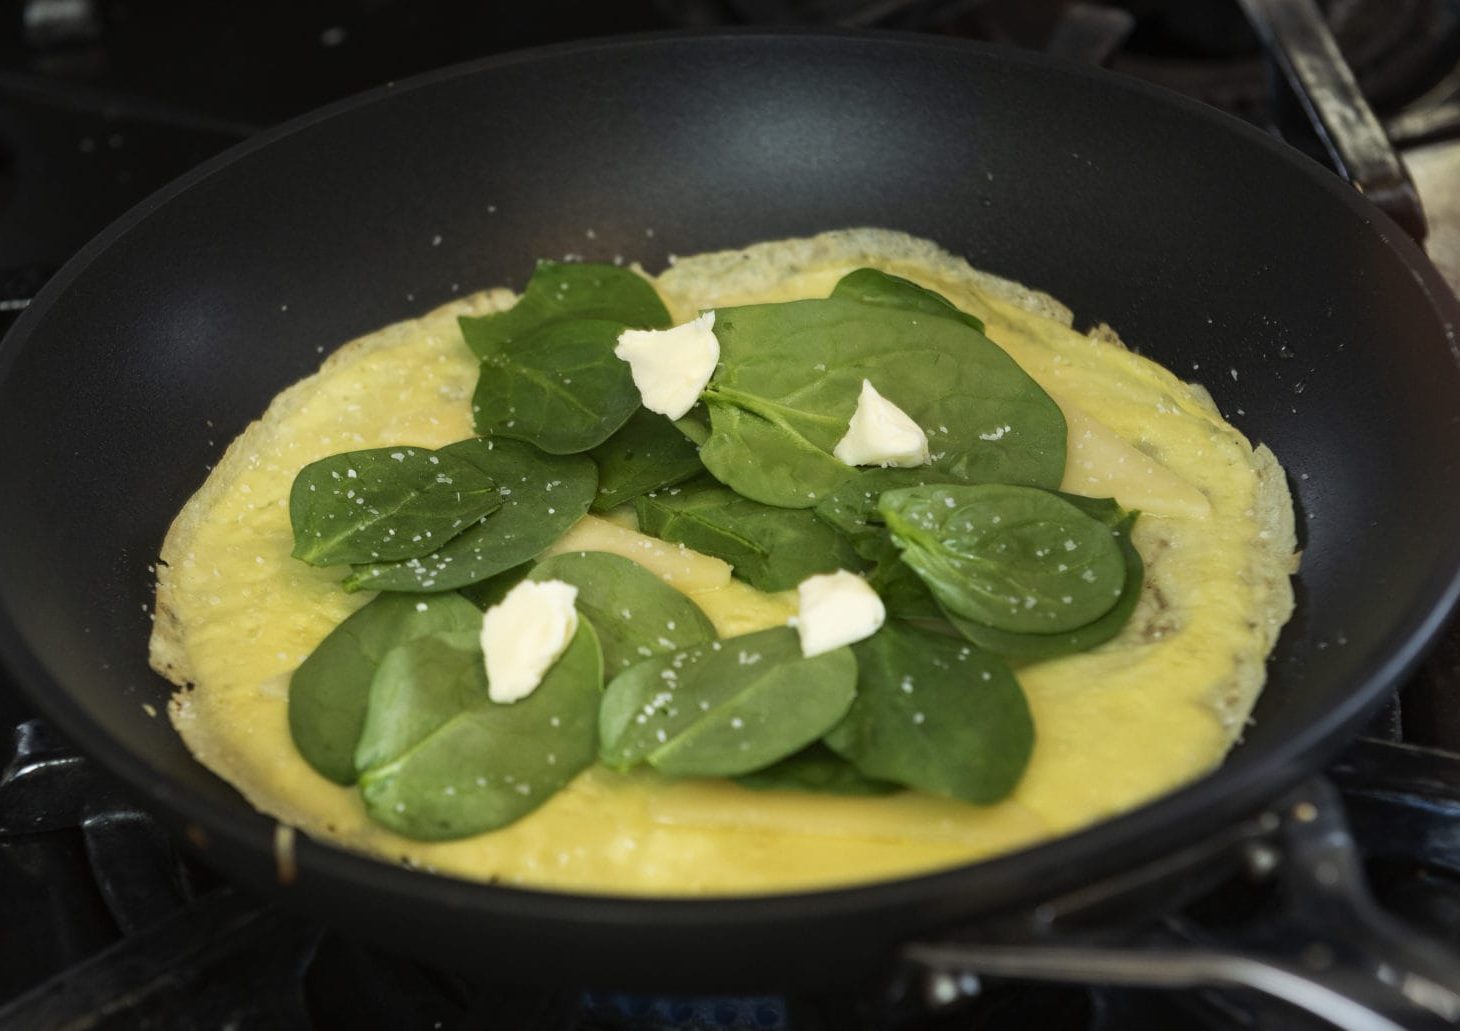
Savory or sweet, the options for filling are pretty limitless. You can go as simple as cheese or add some vegetables (small items such as spinach can be added raw). Larger meats and vegetables may need to be pre-cooked; herbs, spices, greens and sauces are also great additions. If you need to melt cheese, heat vegetables or warm anything else thoroughly in the crepe; a lid may be helpful. Once I flip the crepe back with the presentation side down, I like to arrange the filling in the crepe and put a lid on to help melt/heat the items. Depending on how long the items need to heat I will either turn down the heat or turn it off to make sure not too much color develops on the bottom of the crepe. Having some of the items already heated may help speed up the filling/cooking time.
Here are a few suggestions, but as always, use your imaginations to mix, match and make your own:
Savory
- Spinach and Gruyere
- Ham, cheese and chive Smoked salmon or trout, creme fraiche (or sour cream), and herbs (cold)
- Mushroom, asparagus and hollandaise sauce
Sweet
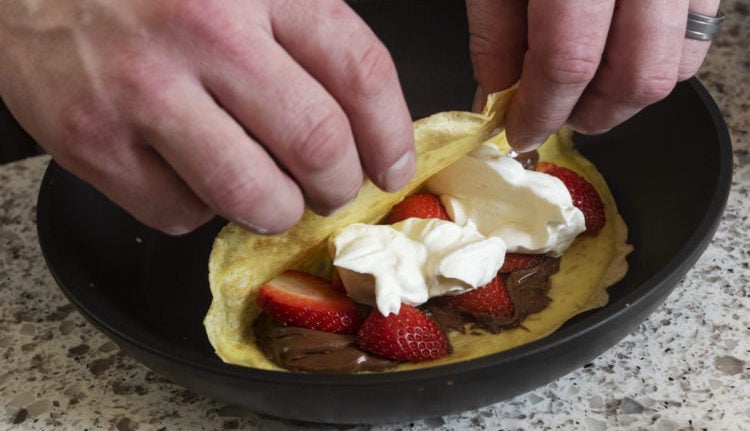
- Nutella, strawberries and whipped cream
- Bananas, brown sugar and cinnamon
- Lemon curd and fresh fruit Crepe Suzette (if you have time for flambé)
Crepes
Makes about 10
5 tablespoons milk
5 tablespoons cream
5 large eggs
Pinch of salt
Butter as needed (1 to 2 tablespoons)
Add flour to a mixing bowl, mix in cream and milk. Whisk in eggs, sugar and salt. Strain into a container and put it into the fridge for 1 hour or up to one day. When you are ready to make crepes, heat your pan over medium heat, place a small amount of butter in the pan and spread it around with a heatproof spatula. Pour 1 to 1.5 ounces (depending on the size of your pan) of batter offset from the center of the pan and swirl around until the pan’s bottom is coated. If there is excess batter, you can pour back into the batter container and use a little less next time. If you need more to coat the bottom of the pan, just add a small amount at a time to coat any non-covered pan surface or fill in any holes. Once the crepe has a little color and is ready to flip, flip and cook on the opposite side for 15 to 30 seconds. You can then flip back and fill if you are doing a hot-filled crepe or remove and cool for cold filled crepes.
Fill as desired to eat immediately or save in the refrigerator or freezer for a later date.

Brook Harlan is a graduate of the Culinary Institute of America in Hyde Park, New York. He is a culinary arts instructor at the Columbia Area Career Center.
