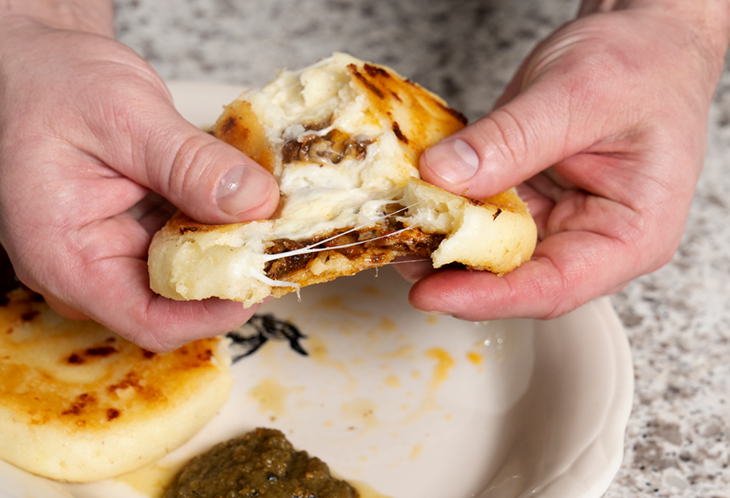
With a dish that is pretty much as simple as pre-cooked cornmeal and water, it is amazing how arepas are so much more than a delicious sum of their parts. This hybrid of bread and tortillas from Colombia/Venezuela is a delicious side to any meal, or you can stuff it after cooking and make it the main component of a meal.
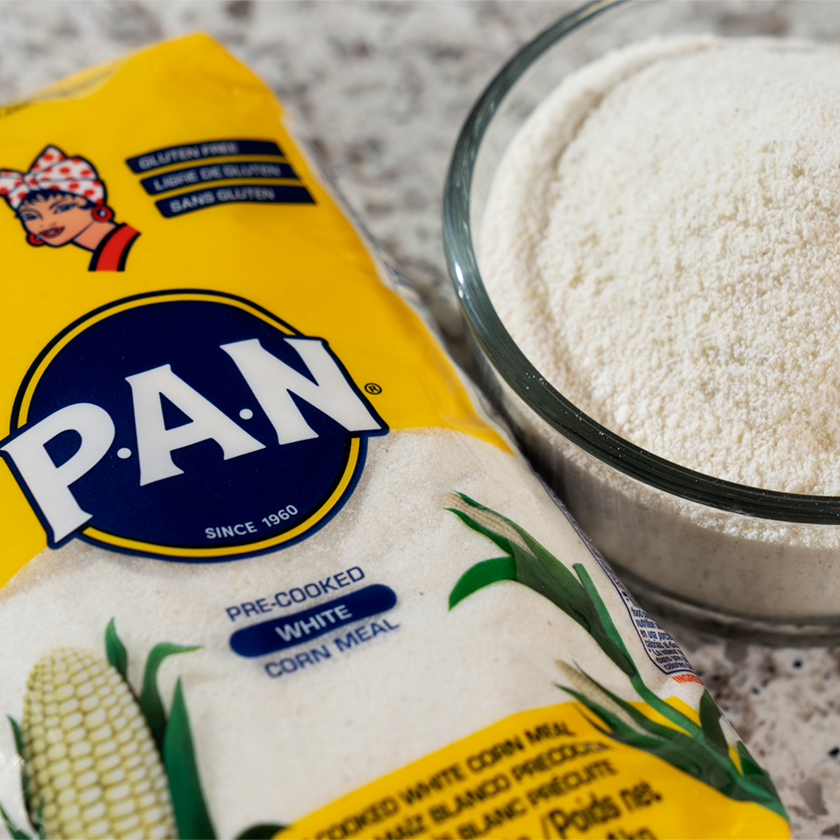
The pre-cooked or “precocida” cornmeal can sometimes be a little tricky to find. It is not the same as masa harina that you can find in most stores. The pre-cooked corn flours or masarepa (P.A.N. being one of the most popular brands) can be found in most Latin markets and many ethnic markets, and is key to the tender bread as it absorbs the water and makes a very tender dough.
The arepa can be pre-stuffed with cheese, sometimes meat, and then a variety of ingredients after being cooked. If you can’t find masarepa, you can use masa harina in a similar method, but the outcome will be a little different and will be closer to that of a pupusa (El Salvador) or gordita (Mexico).
DOUGH
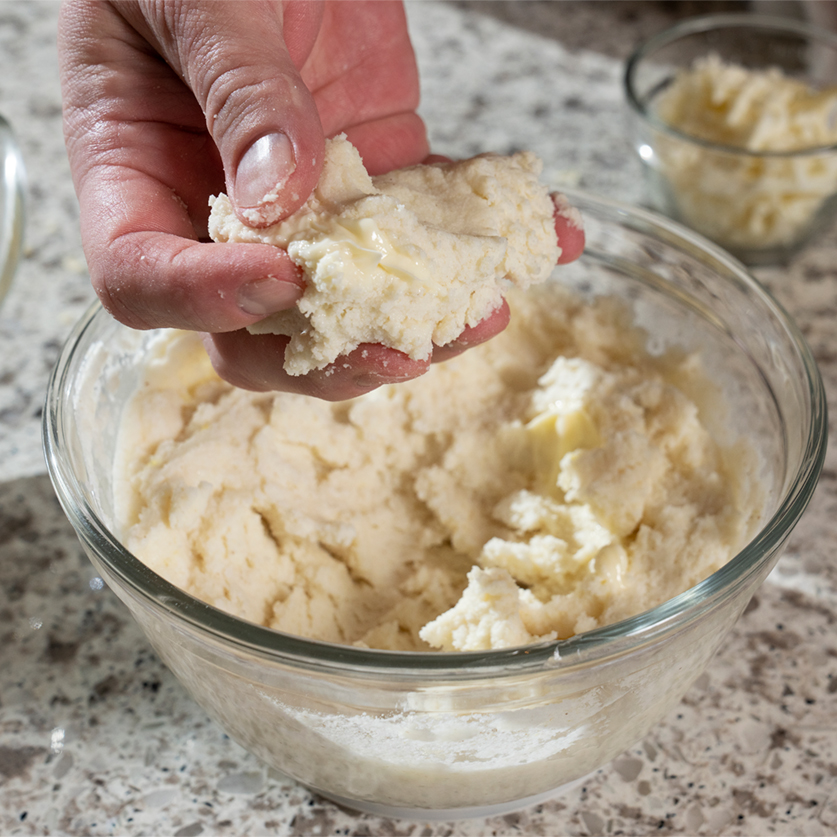
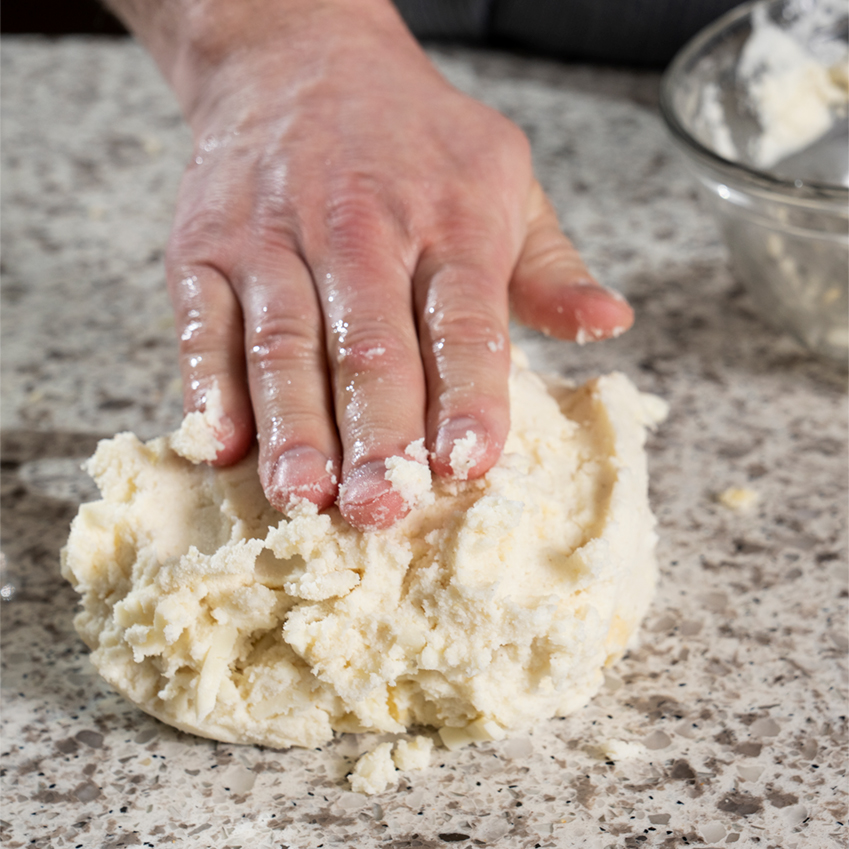
Warm, almost hot, water is key, but if it burns you, it’s too hot. You don’t have to add butter or fat, but it does make it taste even better and the dough even more supple. The heat of the water helps melt the fat and absorb it into the cornmeal. Making the dough is mostly inactive time. Salt the water, taste it (It should be just shy of tasting like ocean water), add the fat, lightly work in the cornmeal (which will help reduce the salty taste) and let the mixture sit for about 10 minutes. The dough will go from almost runny to pliable after the cornmeal absorbs the water.
If the dough crumbles when you squeeze it, it needs a little more warm water. If the dough is runny or easily squirts through your fingers when you squeeze it, it needs a little more cornmeal and to sit for a few minutes.
At this point, you can add a little cheese to mix into the dough. Once you start to shape the dough, you may find that it may start to dry out some. Just add a little more water and keep it covered with a damp towel.
SHAPING/FILLING
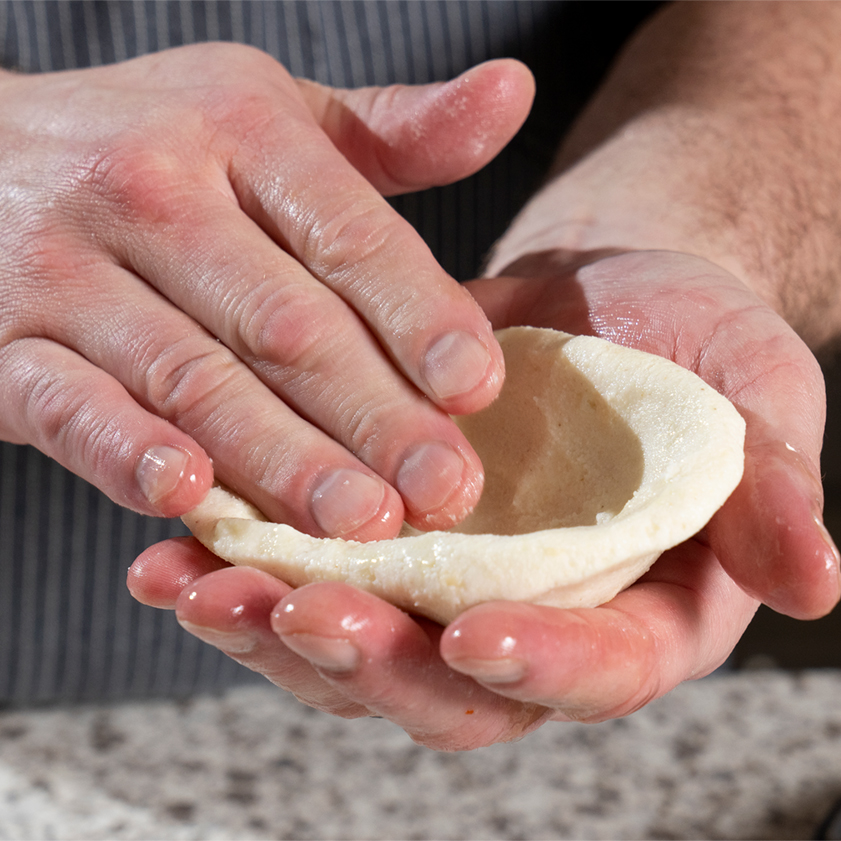
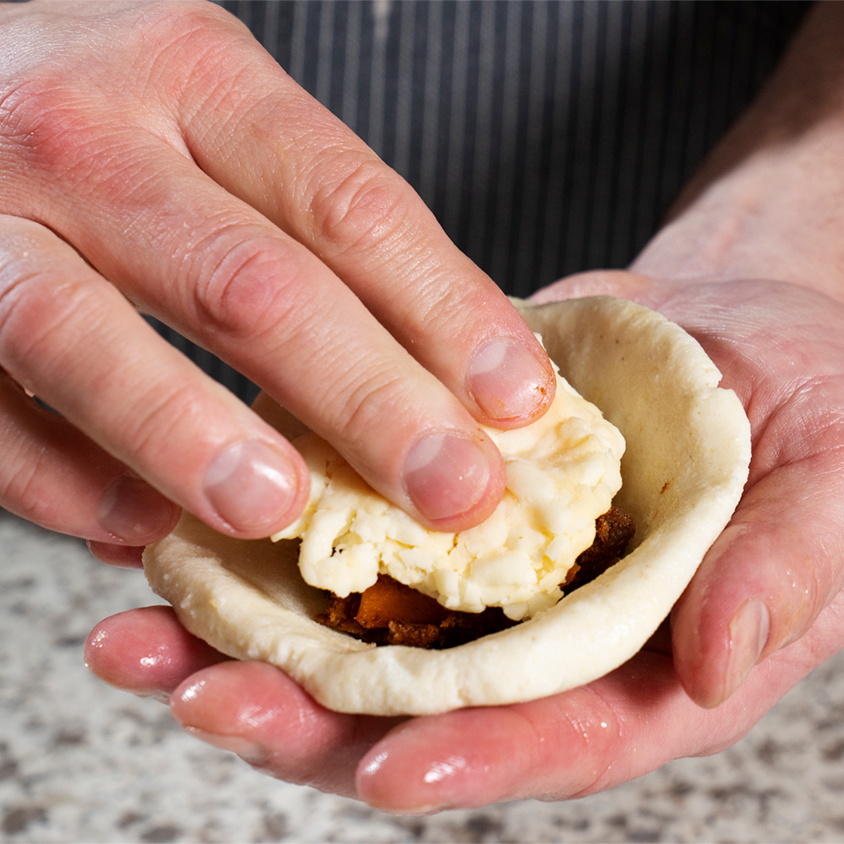
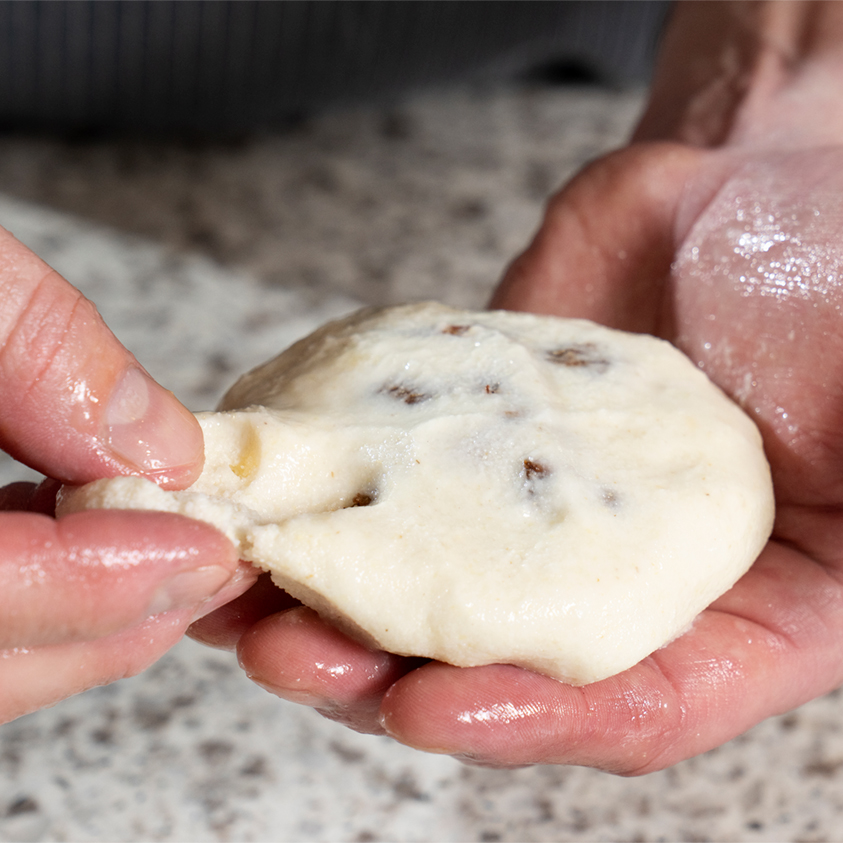
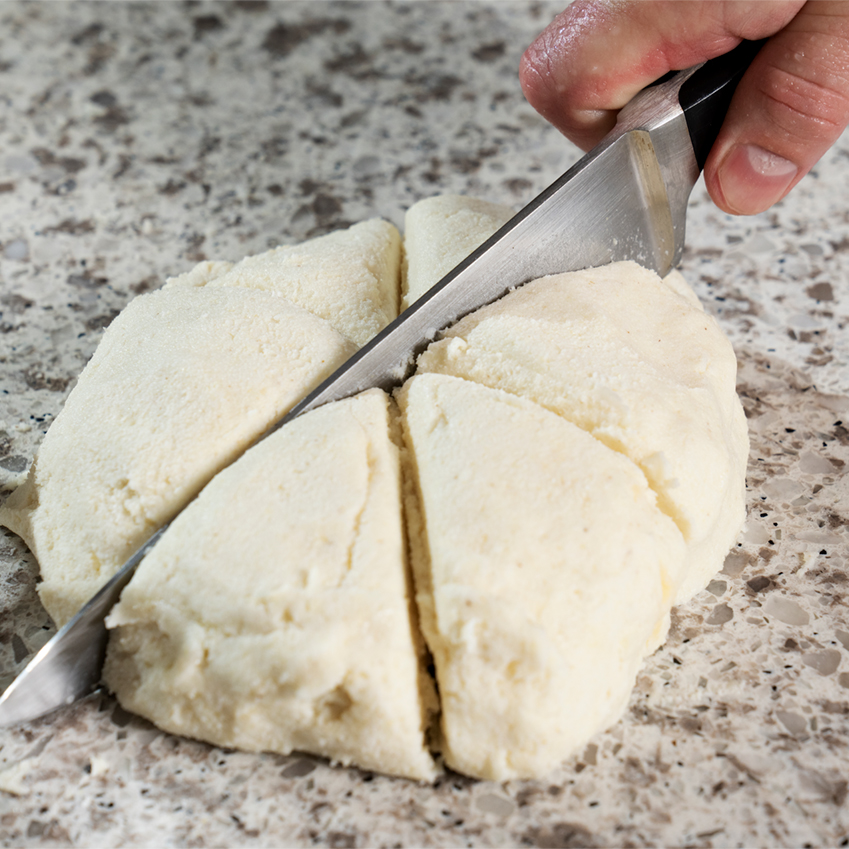
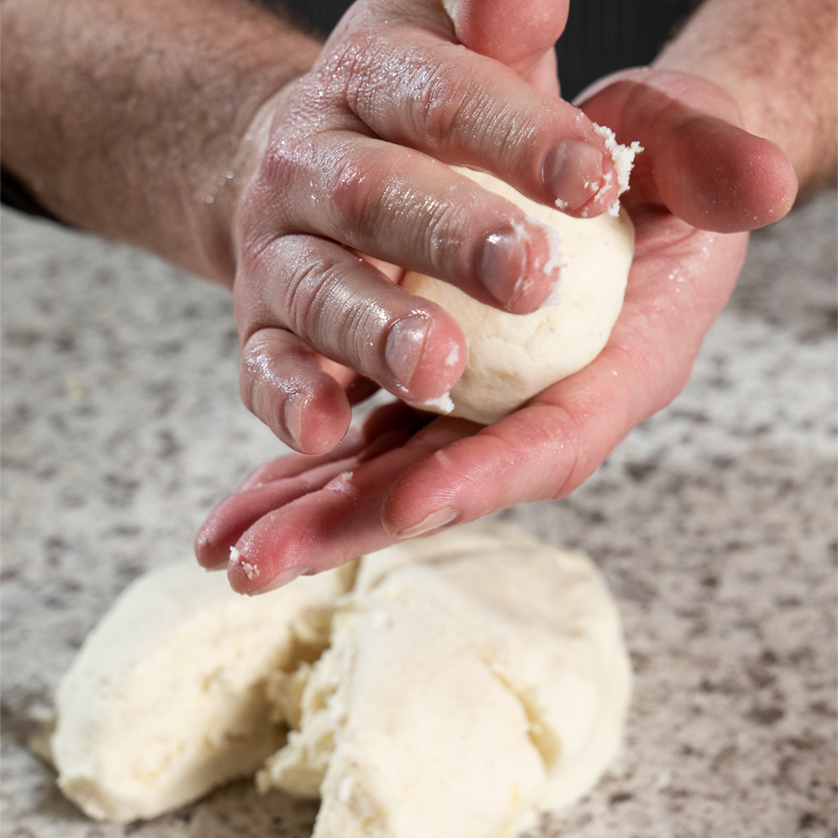
The recipe included makes eight arepas that are on the smaller side or six that are about medium size. Divide the dough and make it into spheres. If you are not stuffing the arepas, you can start to rotate and pat them into a flattened disk that is about ½-inch to ¾-inch thick and a 3-inch to 4-inch circle. To prevent the dough from sticking to your fingers and keep the arepa exterior hydrated and smooth, you can dip your fingers as needed into a mixture of warm water with a few tablespoons of oil mixed in. If you want to stuff it before cooking, you can rotate the sphere and use your thumbs to make it into a bowl, add a little cheese or meat filling, then pinch the bowl closed over the filling. Make sure to wet the outside of the sphere as you pat it into a disk. If you happen to see a little filling starting to show, you can take a little dough from the edge and cover it.
COOKING
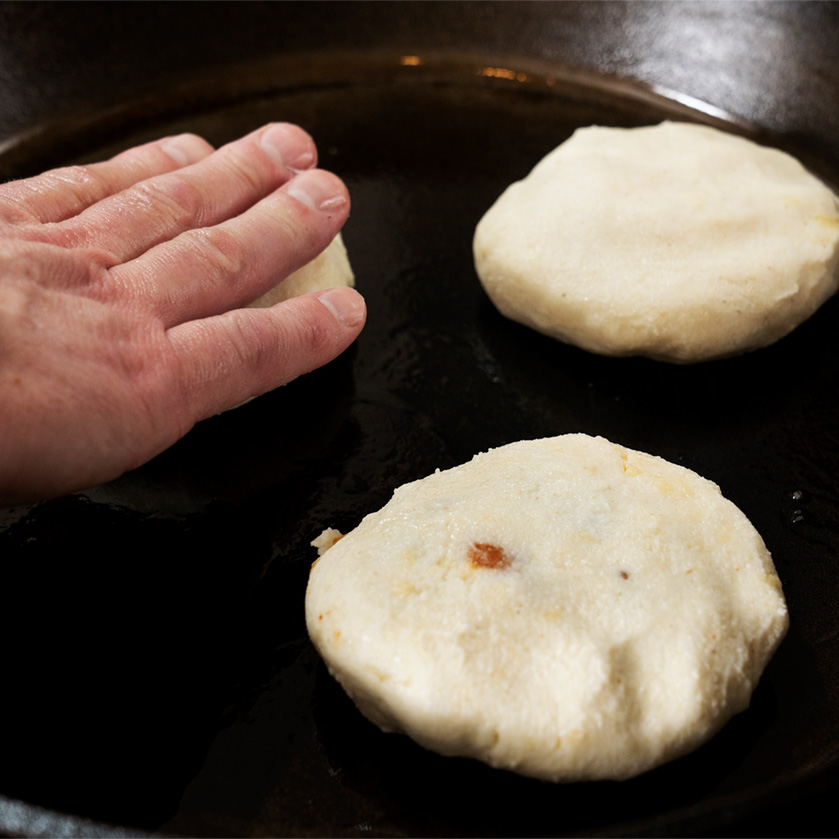
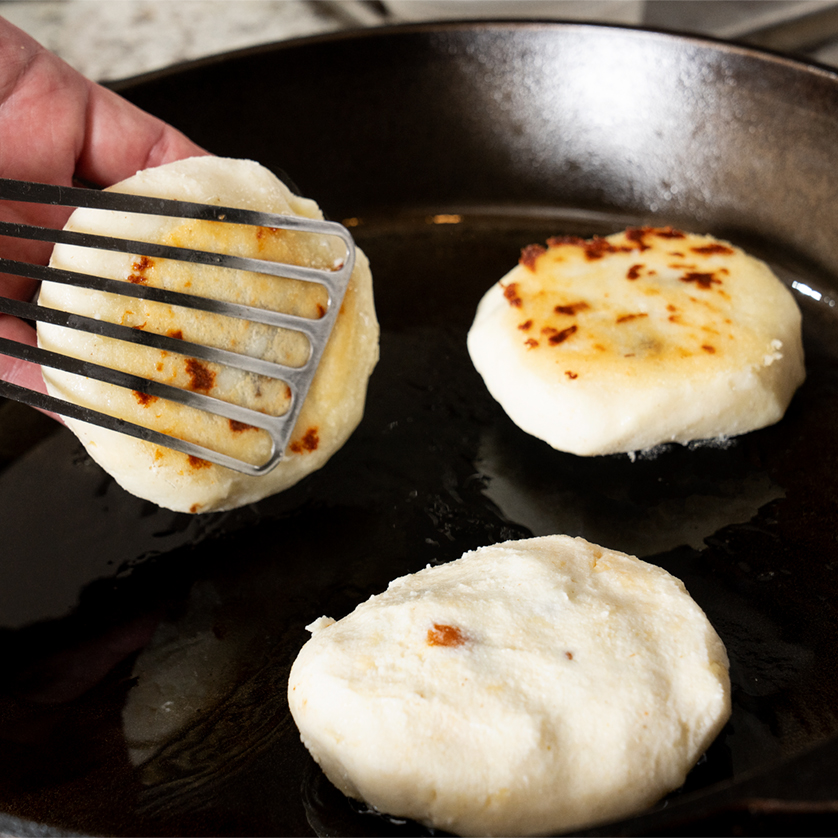
When you are shaping your last few arepas, you can start to preheat your pan. Cast iron, stainless steel and aluminum pans will work. Turn the heat to just below medium and, just before cooking, add enough oil to coat the bottom of the pan. Place enough arepas in the pan so they are about an inch or so apart. If they are too close, they will be hard to flip and a crowded pan will steam, not brown, the arepas. The arepas need to cook for about four to six minutes per side. They should be speckled with brown on the outside when they are ready to flip. About another four to six minutes on the other side and the arepas should be finished. If you start to see the filling bubble under the dough or a little bubble out, it’s a good sign.
STUFFING
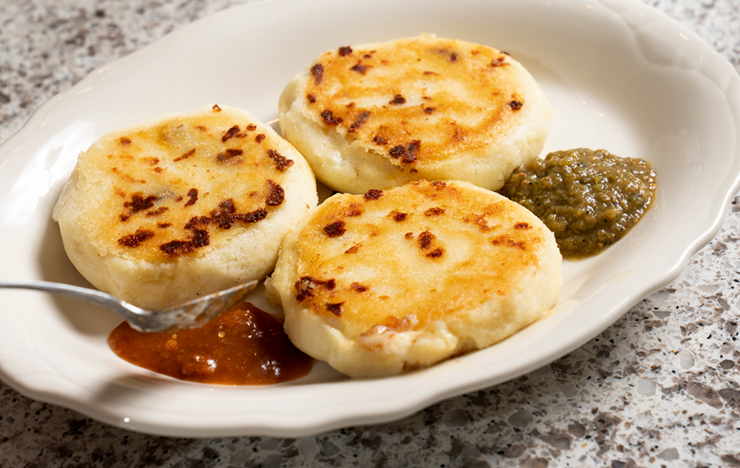
This is a post-cook stuff of the arepa, which is only necessary if you initially stuffed with cheese and you want to add in meat, vegetables or beans after cooking. Let the arepas cool for three to four minutes (cool enough to touch, but not to room temperature), then you can use the tip of the knife to cut into the bread. You want to create more of a pocket by hollowing out the center while leaving most of the sides, like you’re going to stuff a pita. You may then fill the arepas as you wish and serve.
Arepas
Brook HarlanIngredients
- 2 cups warm water
- 1½ to 2 cups pre-cooked cornmeal (white or yellow)
- 1 tsp salt
- ~2 tbsp butter, lard or oil
Instructions
- Mix water and salt, and taste before adding fat (butter or lard) and letting the fat warm in the water. Add cornmeal and mix until mass forms. Let sit for 10 minutes to hydrate cornmeal; it may seem a bit loose before it sits. The dough should be firmer after sitting, enough to hold indents in dough if squeezed, but not run or smooth out on its own. Adjust with cornmeal (to firm) or water (to loosen) as needed. If desired, add about a half cup of shredded cheese to the dough and mix in.
- If you are making a single batch, it is easier to separate the dough into equal portions now.
- If you are making a larger batch, it may just be easier to measure out pieces as you go (as long as you have enough filling, either meat, cheese, beans, vegetables or a combination).
- Take each piece of dough (about ½ to ¾ of the size of a baseball) and flatten it into a ½-inch disk. As you start to get close to a ½ inch, start to make a concave bowl (use the bowl of water and oil to wet the dough as needed to prevent it from cracking or breaking). Place about ¼ cup of filling in the center and close the bowl of dough around the filling by gently squeezing the top together. Keep wetting your hands and pat the sphere into a ¾- to 1-inch disk, making sure to keep wetting the outside to prevent cracking. If the filling does puncture through the dough, you can tear off a piece from the edge and use the water to wet the dough like Play-Doh to mend the opening.
- You are now ready to cook. Heat a sauté or other shallow pan just below medium. Add just enough oil to coat the bottom of the pan. Without crowding the pan, brown for four to six minutes per side until brown speckles have appeared. Flip and repeat. Once the arepas have cooked for three to four minutes they are ready to enjoy or, if you prefer, stuff with more wonderful fillings.
Notes
Pre-cooked meat filling — about ½ cup — separated into however many pieces of dough you make. Tip Keep ½ cup warm water mixed with 2 tablespoons oil in a separate container to use while shaping. This is what you can dip your fingers into as needed to prevent the dough from sticking to your fingers.

