
Blink, and you’re already flooded with party invitations. You’ve dragged the pumpkins and fog machine out of the basement. Your kid won’t stop begging: “Can I be Spider-Man? Puh-lease?” October must be here, so, of course, all anyone can talk about is the 31st. Halloween is one of our favorite times of year in Columbia — the temperature set to the perfect chill, the leaves crisp and gold, Shyrock’s corn maze running at full capacity, and pumpkin-flavored everything is inescapable. But for all the fun of the season, fall comes with its fair share of stresses, the chief of which are financial. Children’s Halloween costumes are cheaply made but expensive to purchase for a one-time celebration. They’re also another product of unsustainable fashion, worn so infrequently that they’re landfill fodder.
Do-it-yourself (otherwise known as DIY) costumes provide a simple solution. Gather a few fabric scraps and some accessories, and you can make just about anything for a fraction of the price. Say your kid wants to be a unicorn and a fairy? You won’t find that ensemble on Amazon. With DIY, it’s a snap.
But say you’re not particularly handy with needle and thread. Where might you get started with a DIY children’s costume? Especially when little Tommy is demanding he look exactly like Obi Wan Kenobi? Don’t get overwhelmed. Our city has the resources to get you equipped early, so you can focus on the spooky stuff (and stocking your shelves with candy!) come Hallow’s Eve.
Step 1: Get With The Times
First, it’s smart to know what costumes are popular this year. Maybe your kid is asking to be an anime character, and you’re not sure you even understand what anime is. Start with a little research. What’s filling the Halloween stores? What’s selling out on Amazon? Sit down with your children, ask them who they want to be, and if you’re unfamiliar with the characters, watch part of the TV series or film they star in, or read a page from their book. You’ll not only have a moment to connect with your child, but you’ll get a better vision for your creation.
Larry Dietzel, owner of the beloved downtown costume shop Gotcha! — an authority on costuming in Columbia for over two decades — says it’s always hard to tell exactly what will be trending each season. “A crystal ball would help a lot,” he jokes. But there are a few tried-and-true consistencies: Anime characters, Disney characters, and Marvel and DC superheroes are almost always safe bets. Your kids’ friends will know who they are, but you can customize each costume to your child’s liking. That’s where the fun comes in.
Step 2: Gather Inspiration
If this is your first time doing DIY design, it’s best to consult the experts before you start hemming any skirts. There are hundreds of tutorials online, many from bloggers who understand the struggles of juggling costume prep with the everyday ins-and-outs of parenting (Who has time to pack lunches and hand-stitch a cape?). Start there first.
Once you’ve nailed the basics, take a quick breath before you dive into design work. A few folks around here have been DIYing their kids’ costumes for years (in some cases decades), and after a few ripped seams and Pinterest fails, they’ve mastered the create-your-own craft. To stir your muse, they’ve rounded up a few do’s and don’ts of pre-Halloween prep:
Step 3: Stock Up On Supplies
You won’t get far without a trusty pair of scissors or a hot glue gun. It’s time to go shopping.
Here’s the great thing about DIY: You won’t need to reach far in your wallet to assemble what you need. Start with the trickier stuff to recreate, such as masks, face paint, and other accessories. In some cases, you won’t be able to fake that stuff at home. Instead, consult the experts at Gotcha! The store offers an incredible array of costume supplies, ranging from high-quality theatrical makeup to, well, chicken masks. You’ll have so much fun getting lost in the store you might forget why you came.
If you need some basic clothes to provide the foundation for your child’s costume, scope out the vintage and thrift stores first. You can almost always find something creative (and cheap!) if you keep an open mind while scouring the options at Maude Vintage. A tweed jacket might not look exactly like Doctor Who’s on the rack, but with a few modifications back at your place, you’ll nail the look without spending more than a few dollars. If Maude proves too selective, motor over to the time-tested Goodwill. You’ll find plenty of basic T-shirts, pants and dresses that you can cut, crop and color to your heart’s content.
Next, you’ll probably need some fabric — or at least some thread, Velcro, or sequins. Local stores such as Appletree Quilting and Satin Stitches offer all of the above, plus the expertise of locals who might even pause to help you find a good pattern. Ask the experts what you’ll need after showing them the template you have in mind, and maybe even consider signing up for a sewing class to stretch your skills. Whatever you can’t find at local fabric shops, you can almost always snatch some up for cheap at Michaels or Joann’s Fabric.
Step 4: Dare to DIY
Okay, so you’re convinced DIY is the right route. You’ve got your bag of goodies. You’re ready to go. But you still haven’t landed on that golden idea, the costume that will make your kid stand out on the block. And you’re still spooked by the thought of sewing. Fret not. With these so-basic-it’s-scary starter tutorials, you can assemble a chilling (or charming) costume in minutes.
Pencil & Eraser
Inspiration: Studio DIY!
You will need: A glue stick or hot glue gun, a small pink T-shirt or onesie, a yellow dress, black fabric markers, elastic, paper party hat, pink shoes, scissors, tan cardstock, yellow cardstock

Step 2: Cut the same shape into the yellow cardstock.
Step 3: Using a straightedge, cut out the bottom two inches of the yellow hat shape. This strip of yellow will be pasted onto the tan cardstock hat shape.
Step 3: To make the pencil look recently sharpened, cut a scalloped pattern into the yellow strip.
Step 4: Using the stick or glue gun, glue the scalloped yellow strip onto the bottom of the tan shape.
Step 5: Using the black marker, color the top 1-2 inches of the tan shape to create what will be the pencil lead.
Step 6: Roll the hat together and glue to create a cone, which will serve as the pencil tip.
Step 7: Using the hot glue gun, attach the elastic to the insides of the cone pencil hat. This will serve as a chin strap securing the hat to your head.
Step 8: Slip on a yellow dress and pink shoes to create the pencil body and eraser.
Step 9: Lay the pink shirt or onesie on a flat surface. Then, using the black marker (and a stencil, if you’re worried about your handwriting), draw words common on pink erasers. You can pick exactly what you want to say, but some suggestions include “Papermate Pink Pearl” or “Pink Eraser.”
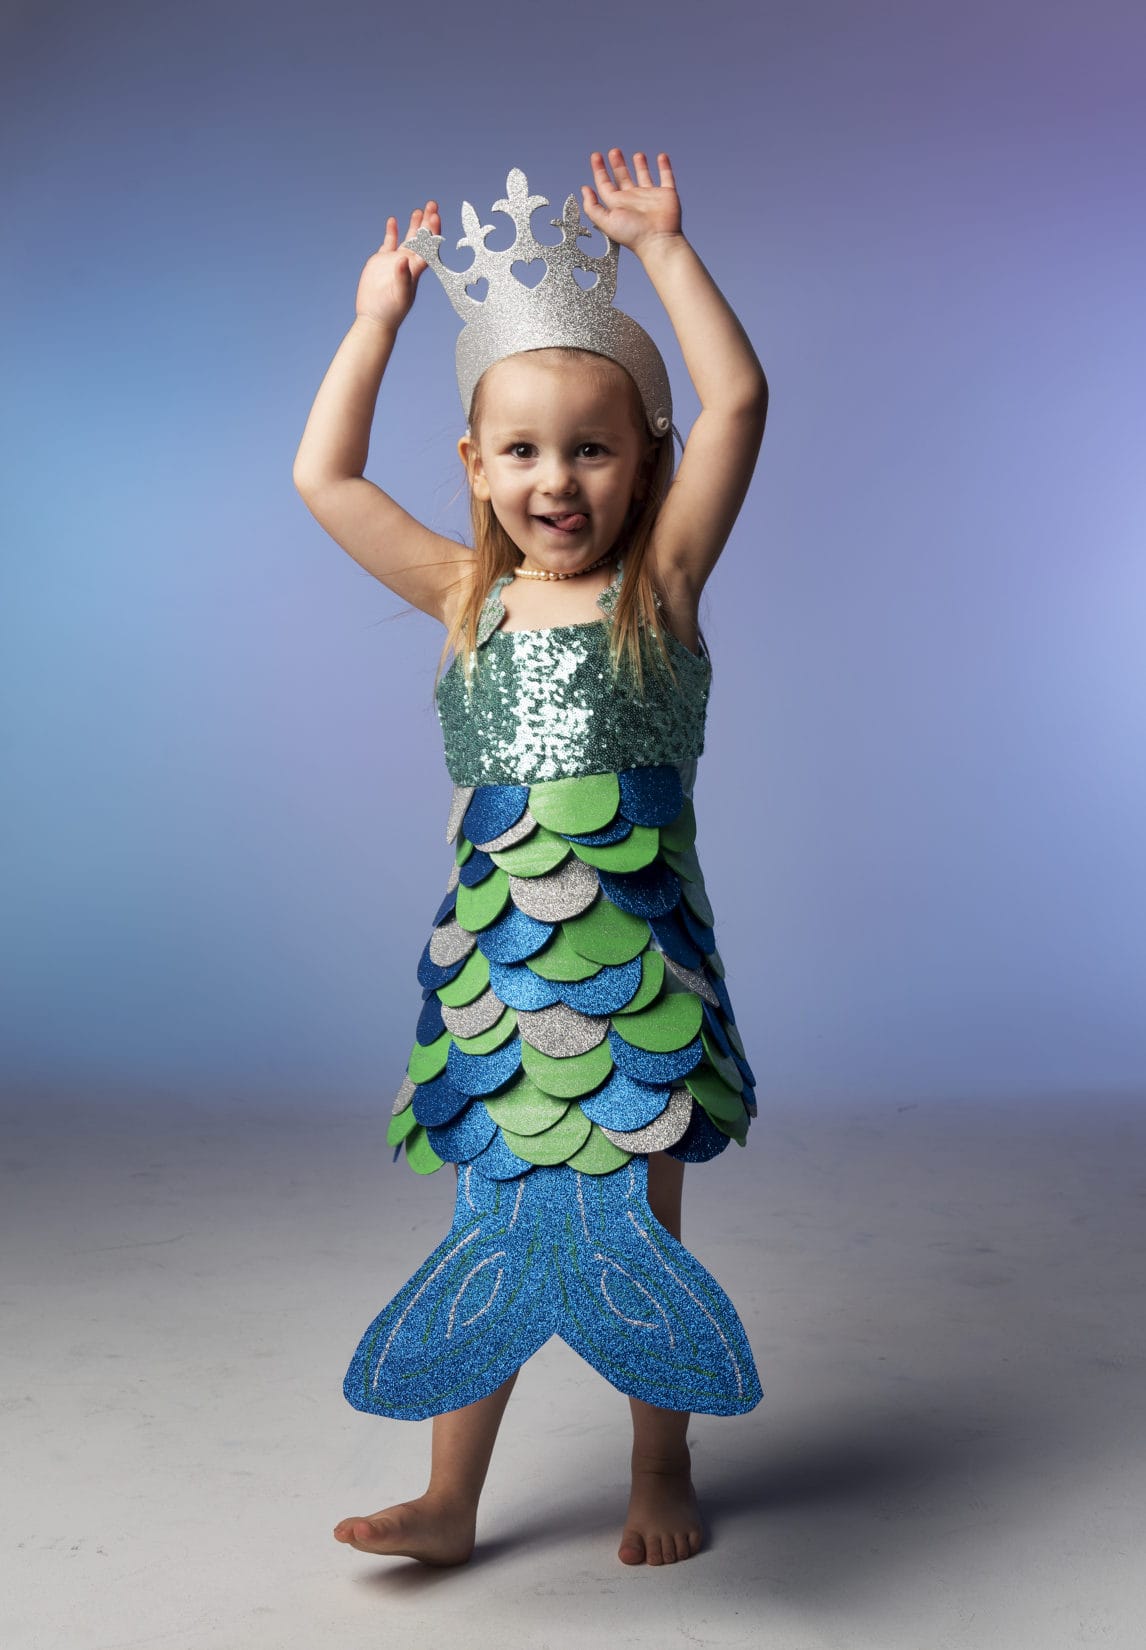
Mermaid
Inspiration: Mama. Papa. Bubba.
You will need: Cardboard, glitter glue, hot glue gun, seashell necklace, sparkly foam sheets in different blue and/or green shades, sparkly or sequined dress, sparkly shoes, thread for alterations
Step 2: Create a “scale” template by cutting one out from cardboard. It should look approximately like a half moon.
Step 3: Using the cardboard template, cut out a lot of foam scales in different shades of blue and/or green. The actual number will depend on the size of the skirt. You might need to cut out more after you get started.
Step 4: Starting at the bottom of the skirt, use your hot glue gun to attach a horizontal row of scales. Then attach another horizontal row above the previous row, taking care to stagger the scales between each other, creating a pattern.
Step 5: Cut out a large tail shape from the cardboard, then use that template to cut the same shape out of blue foam.
Step 6: Using glitter glue, draw a fun design on the tail. Your child can get involved with this step!
Step 7: Attach the top edge of the tail to the inside of the back or front of the skirt using the hot glue gun.
Step 8: Pair with sparkly shoes and a seashell or pearl necklace!
Biker Baby
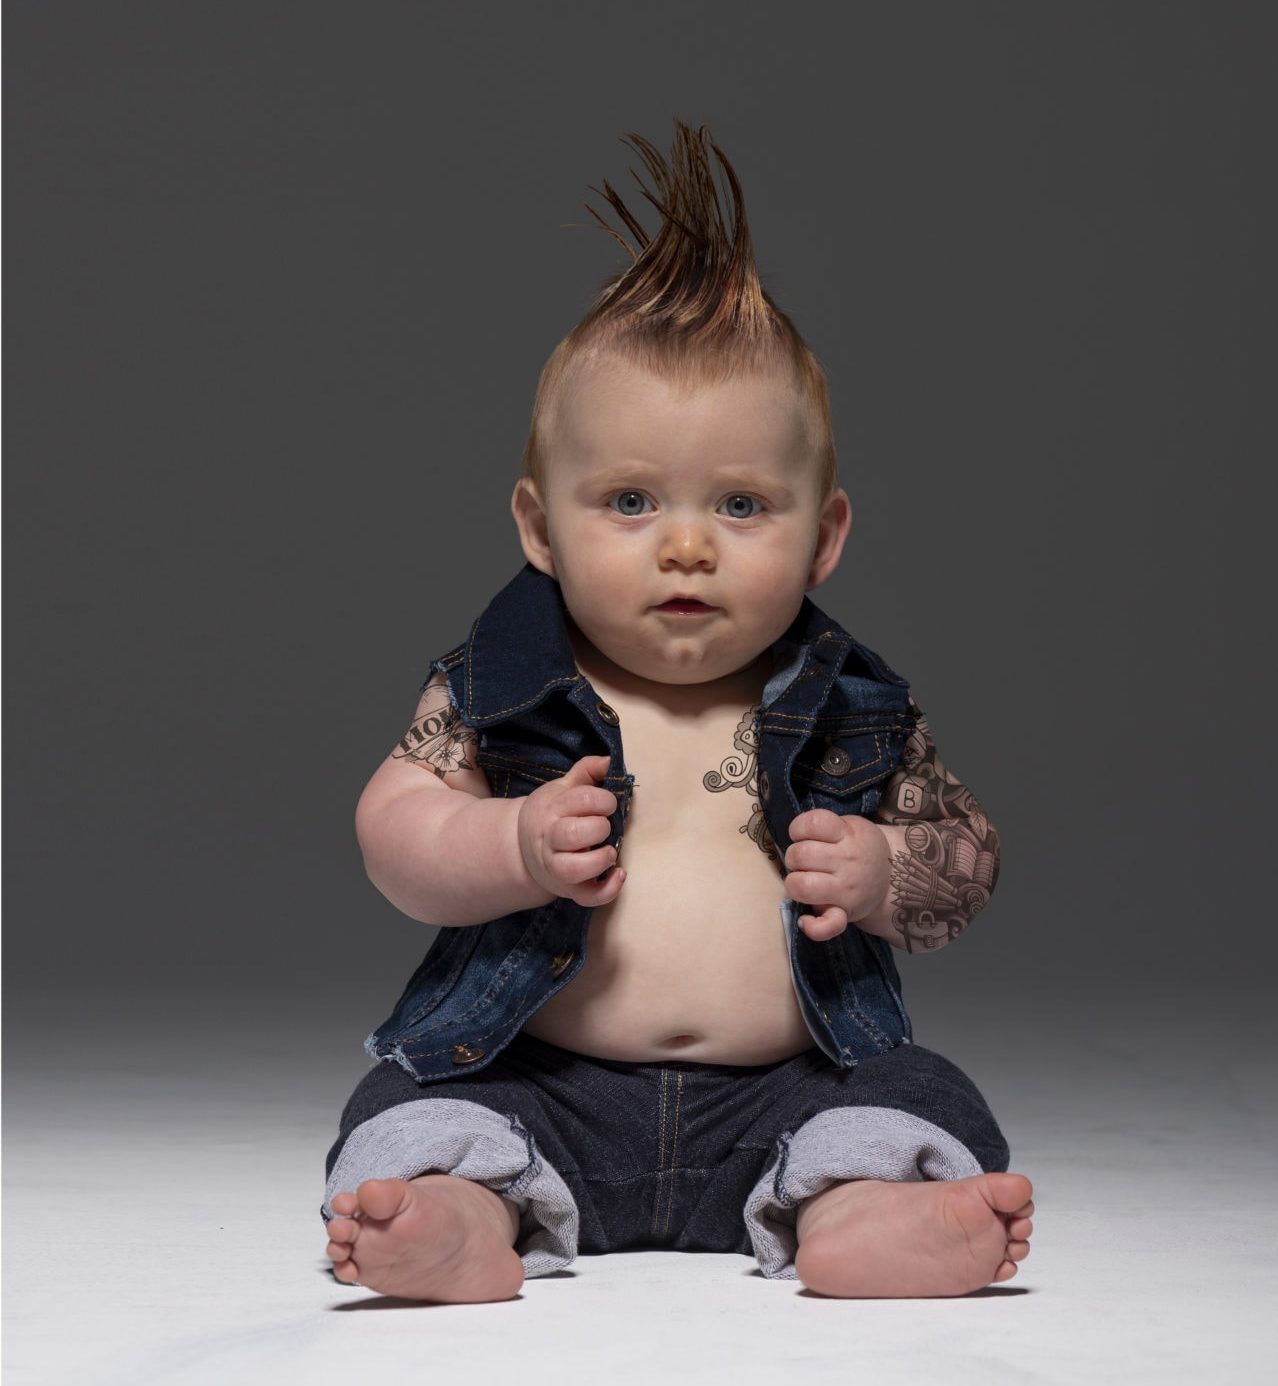
You will need: Jean or leather jacket, jean pants, fake tattoos, hair gel
Step 1: Cut and distress jean jacket as needed to get a “biker” feel.
Step 2: Apply fake tattoos — or if you’re an artist, draw on with nontoxic marker — in visible areas. Some fun tattoo ideas include a pacifier, mom with a heart, bottle and teddy bear.
Step 3: Using hair gel, style your baby’s hair to make it look more punk.
Step 4: Pair with blue jeans and stylish boots!
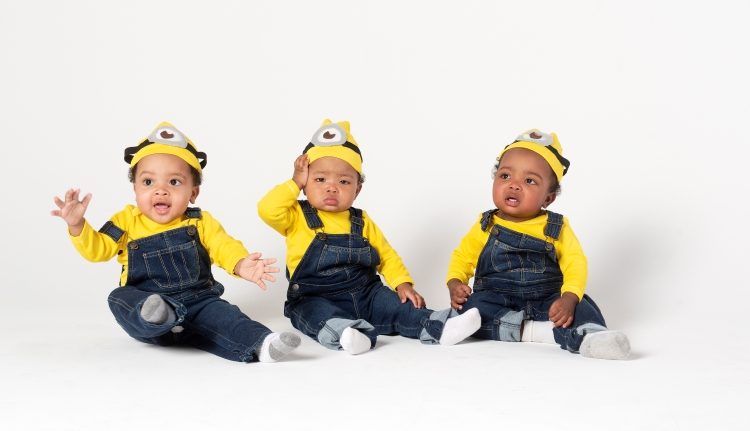
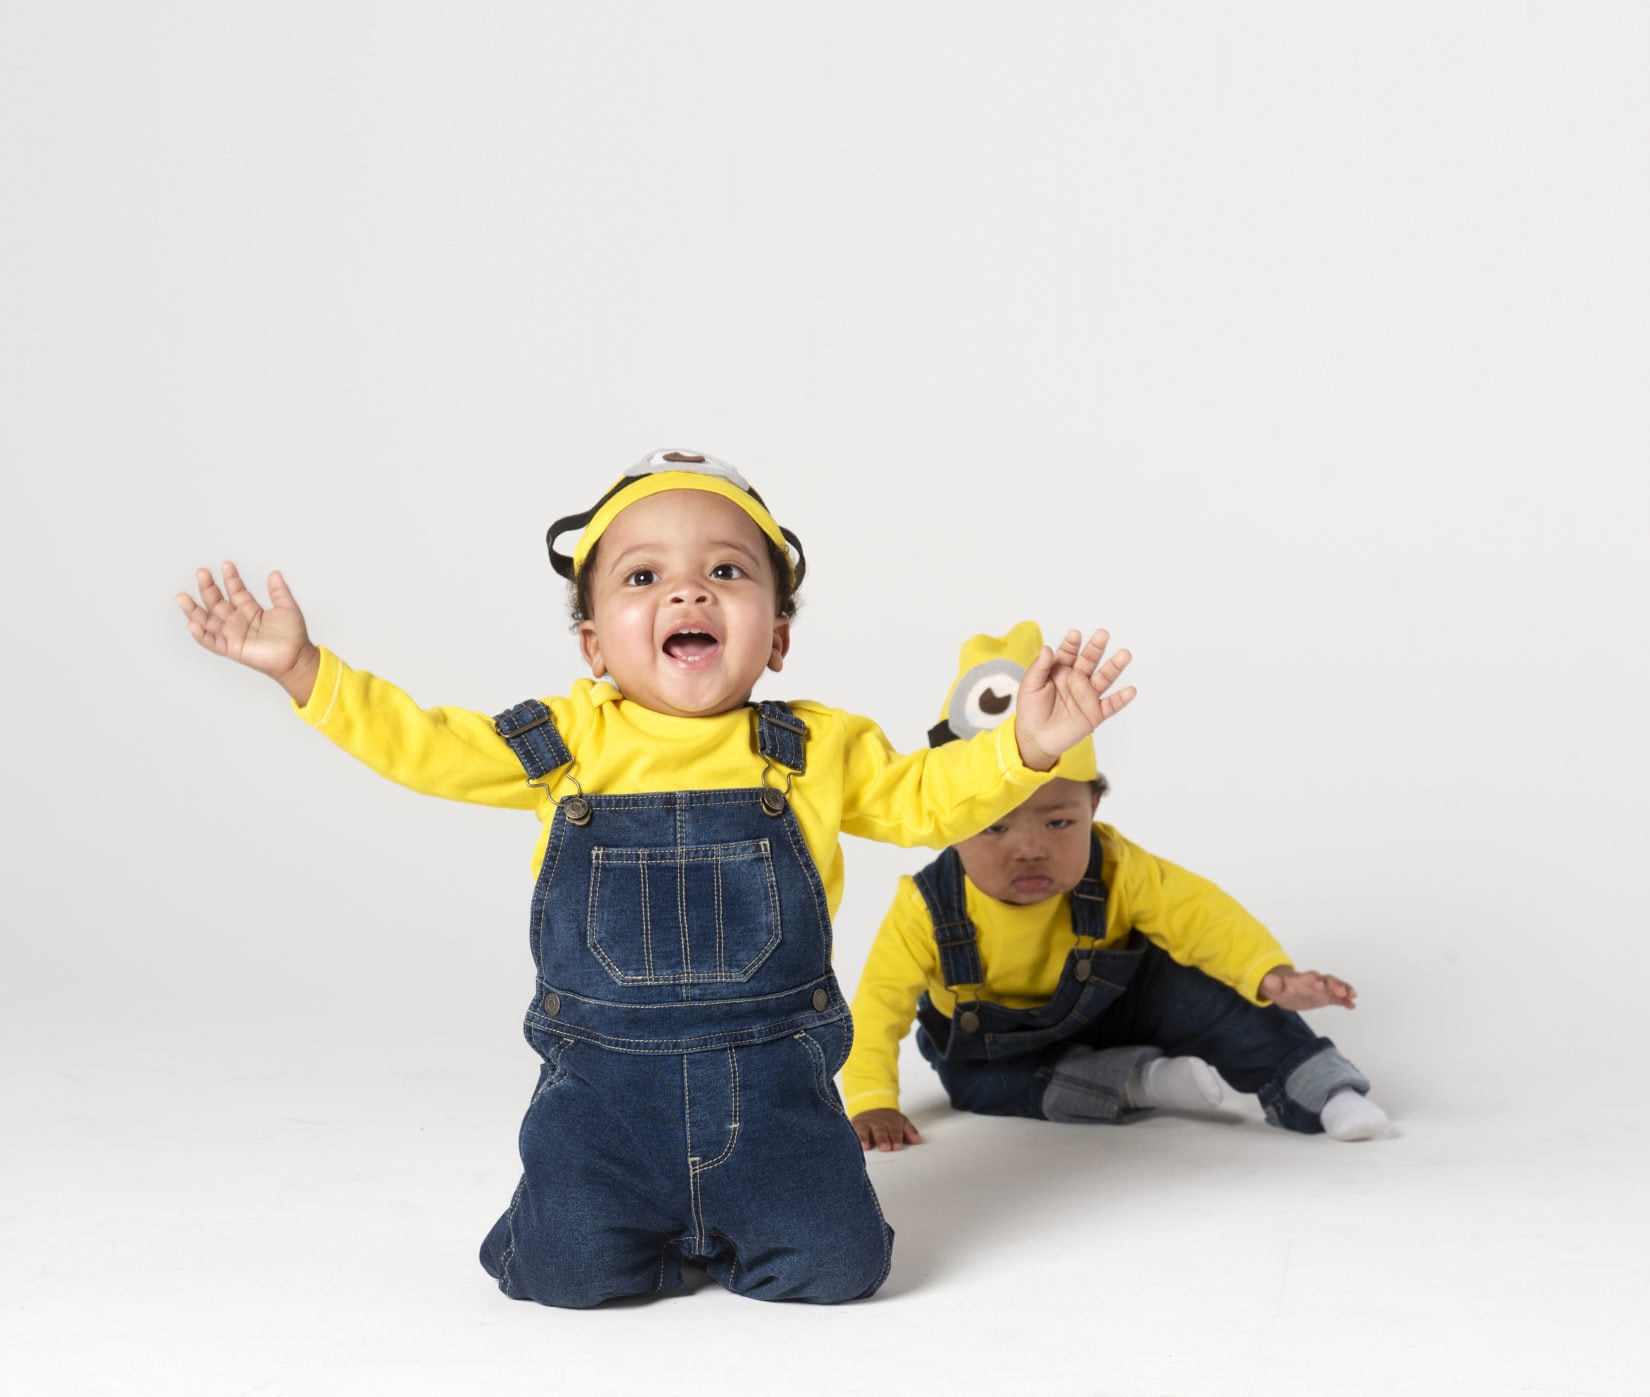
Minion
Inspiration : Wine and Glue
You will need: Black elastic, brown felt, overalls, scissors, silver felt, white felt, white/black/silver thread or hot glue gun, yellow knit or fleece cap, yellow T-shirt
Step 2: Cut out a small portion of the brown felt circle to create an almost Pac-Man-like shape.
Step 3: Using your fabric glue, glue the brown felt shape in the center of the white felt circle, then glue the white felt circle in the center of the silver felt circle. This creates the minion eye.
Step 4: Using your fabric glue, glue the “eye” to the black elastic. You can also use thread to sew it to the elastic.
Step 5: Placing the cap on your child’s head, put the elastic around the center of the cap, then, if so desired, glue or sew into place. Otherwise, the elastic can simply be stretched around the cap, (but keep in mind it might move around if not secured).
Step 6: Pair the hat with a long-sleeved yellow T-shirt and the all-important overalls.
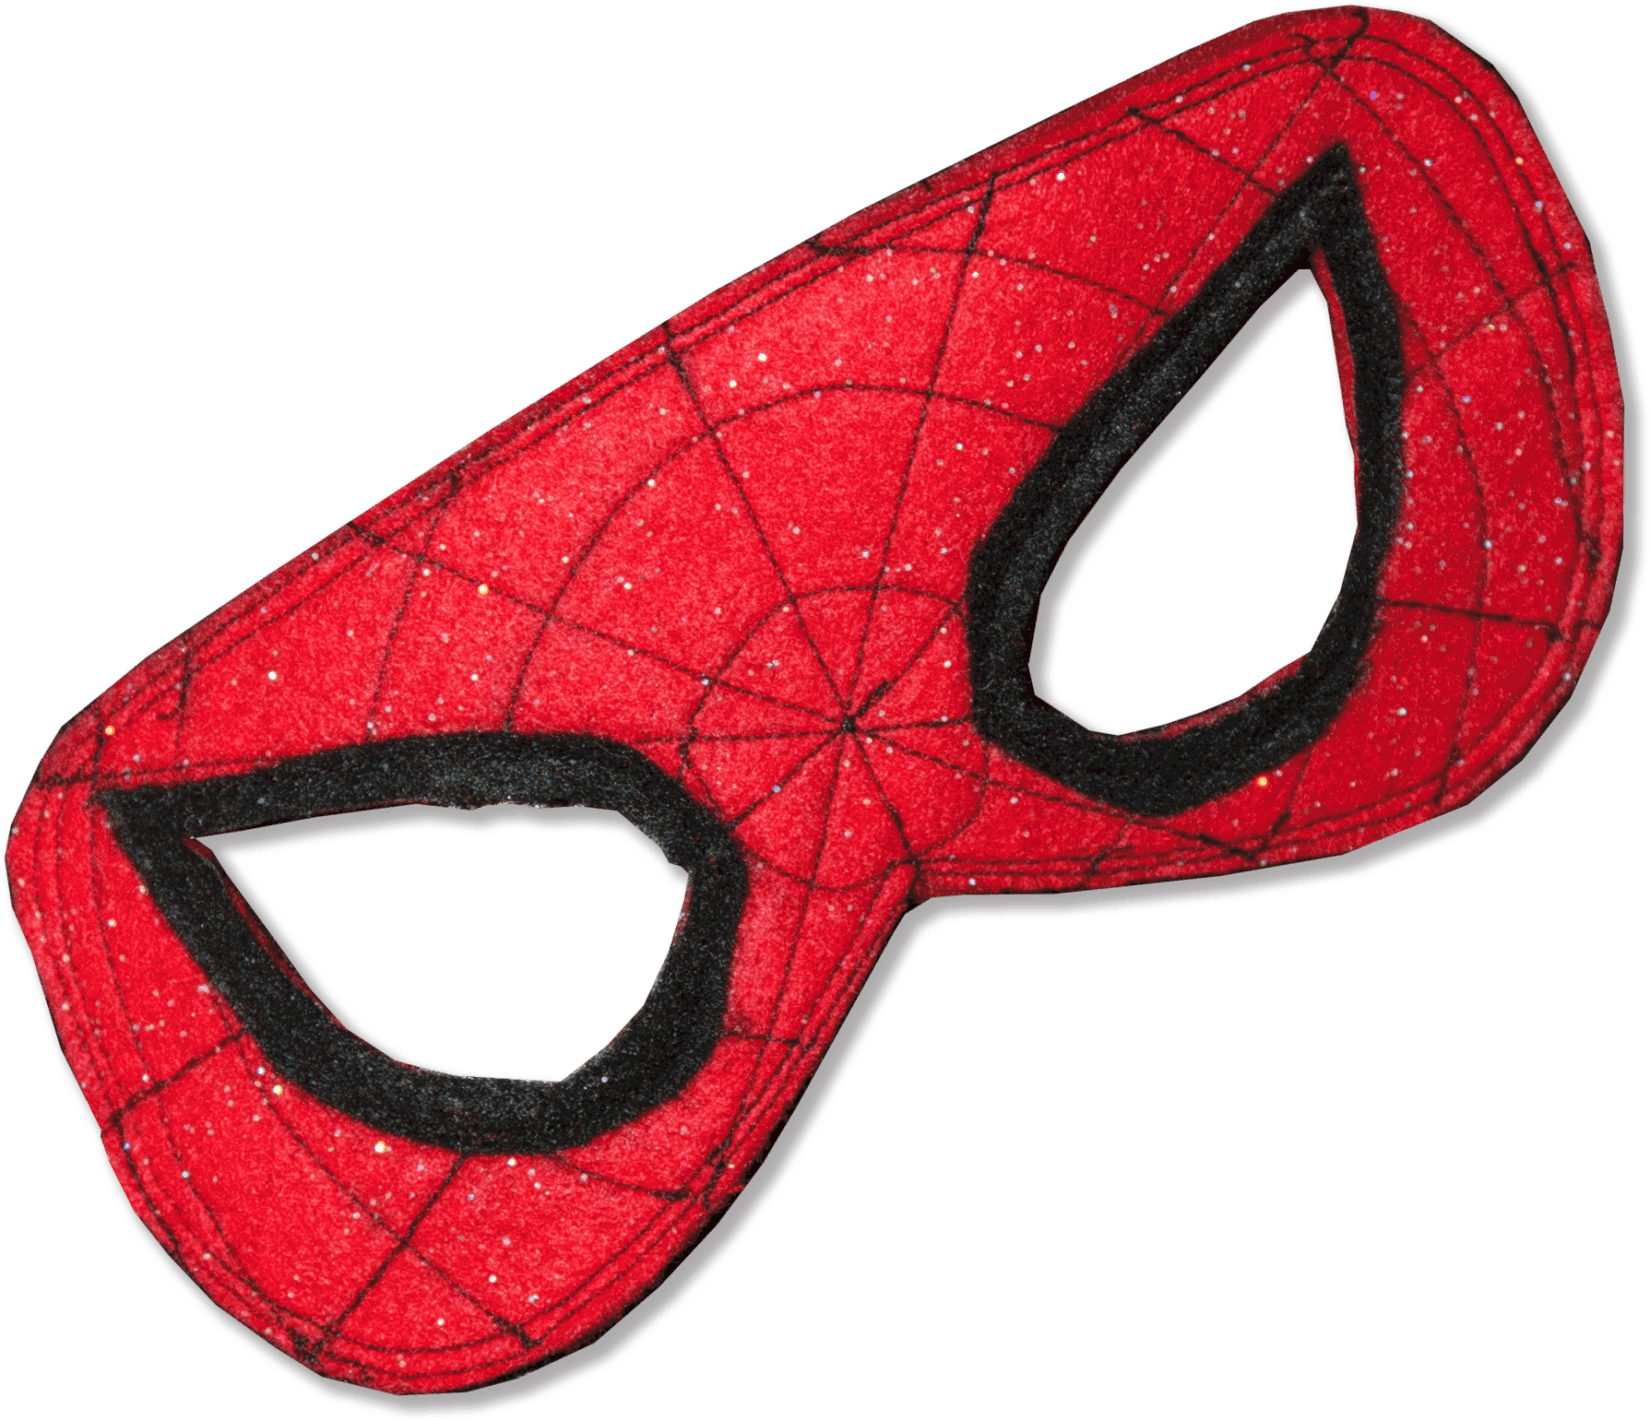
Spiderman
Inspiration: Primary
You will need: Black fabric marker, bright blue leggings or pants, bright blue long-sleeved shirt, elastic band, fabric tape or fabric glue, hot glue gun, red felt, scissors
Step 2: Cut two short rectangles out of the red felt. These will serve as the wrist pieces. Then, cut two longer rectangles out of the red felt. These will serve as the ankle pieces.
Step 3: Using fabric marker, draw a simple spider-web pattern along each of these felt pieces.
Step 4: Attach these felt pieces to the wrists and ankles of the blue shirt and pants with fabric tape or fabric glue.
Step 5: Cut a long strip of red felt to fit around the circumference of your child’s waist. Then, cut a longer tapered rectangle to fit your child’s torso, and two rounded corner triangles to serve as the shoulder pieces.
Step 6: Draw the same simple spider-web pattern along each of these felt pieces.
Step 7: Attach these felt pieces to the waist, torso, and shoulders of the blue shirt and pants with fabric tape or fabric glue.
Step 8: Create a mask by cutting out another piece of red felt that fits your child’s head. Round the top of this piece, and leave a curve on the bottom edge to ensure your child’s nose is not trapped inside the mask. Measure your child’s eyes and the width between them and cut out openings in the center of the felt to match.
Step 9: Draw the same simple spider-web pattern along this mask.
